
Installing a starry sky ceiling is an exciting project. It can transform an ordinary room into a magical space. You might feel unsure about the setup process. But with clear guidance, you can understand how professionals create these beautiful ceilings.
This guide will walk you through the key steps for setting up different types of star ceiling panels. We will cover materials, patterns, and the specific installation methods for each panel type.
Before you start, it is important to have everything you need. The exact tools can vary based on your ceiling type and panel choice.
The starry sky board system offers three professional-grade options. Each serves a different purpose.


This is the most creative part. The pattern defines the look of your night sky ceiling.
Our system includes a wide range of starry sky theme elements. You can choose from classic shapes like stars, moons, constellations, and planets.
Do you have a unique idea? We support personalized customization services. You can create a specific galaxy ceiling or replicate your favorite star pattern. Planning this ahead is crucial. It affects how you will later install the ceiling starry lights.
A successful installation starts with a good foundation.
Clear the room of furniture or cover it with drop cloths. If you are installing over an existing ceiling, ensure the surface is clean, dry, and stable.
Use a stud finder to locate the ceiling joists. Mark their locations lightly with a pencil. This will show you where the underlying support is for attaching your framework.
The panels need a strong structure to hold them up. This structure is called a keel system. The method differs based on your panel choice.

Polyester fiberboards are fixed with wooden keels and nails.
Aluminum gussets need a different approach. They use a professional diamond keel system.
Now, you can put the panels in place and add the magic of light.
This is the key step for creating your stars on ceiling.
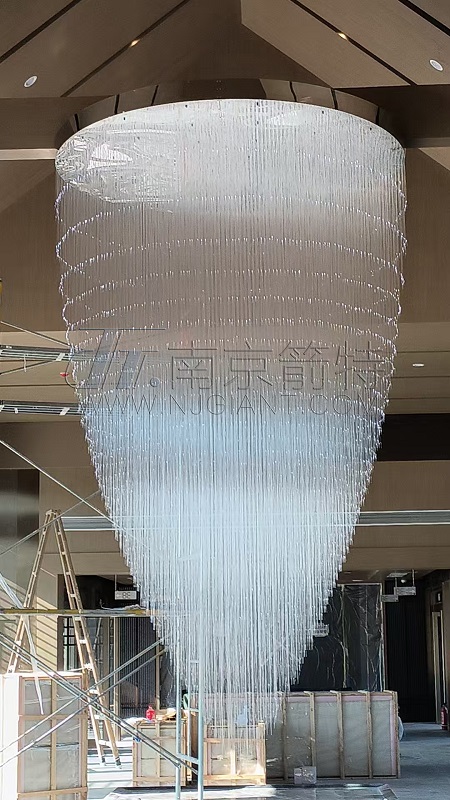
For a Fiber Optic Star Ceiling: Before placing the panels, you need to drill tiny holes where you want each star. Then, thread the thin fibers from the fiber optic ceiling stars projector through these holes from behind the panel. This creates the tiny points of light for your optical fiber star ceiling.
Once all panels are installed and lights are connected, do a final check.
Turn on your star ceiling light system. Make sure every ceiling star lights up correctly. Check for any gaps between panels and ensure everything looks seamless.
Then, turn off the main lights and enjoy the view. You have successfully set up your own star light ceiling. Your new starlight for ceiling will bring you joy for many years to come.


 Поддержка сети IPv6